Image tracking
Updated December 8, 2022
Image tracking mechanism
Identification image - will be used to scan with the mobile device's camera and trigger AR content. To create and get the best experience, please refer to the following suggestions:
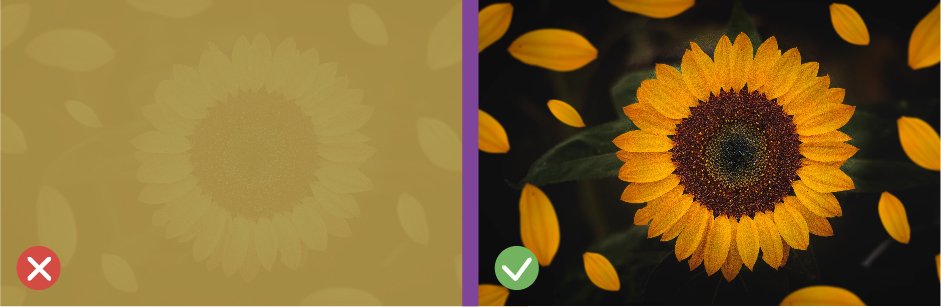
Choose images with lots of detail and high contrast. This helps the camera have more image information during the identification process.
Make sure the place you experience has adequate lighting so the camera can clearly recognize the image.

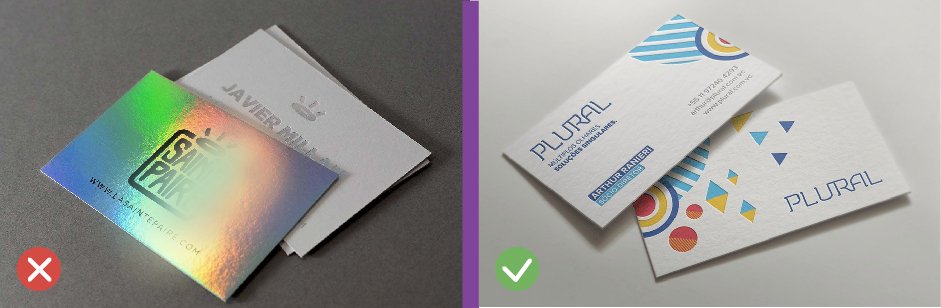
Avoid using printing materials with large reflective surfaces. The camera may be confused by reflected light patches, causing instability in the image tracking process.
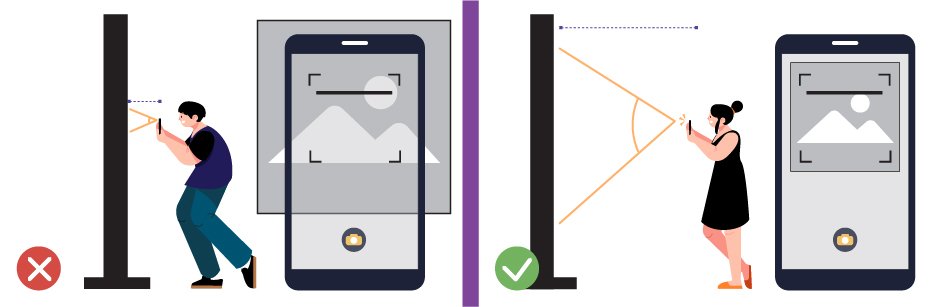
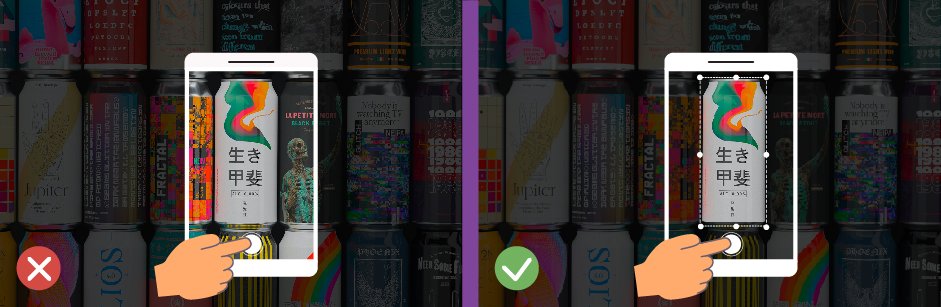
Always keep the identification image completely within the camera's frame. With identification images printed in large format, you may need to stand at a further distance to experience.
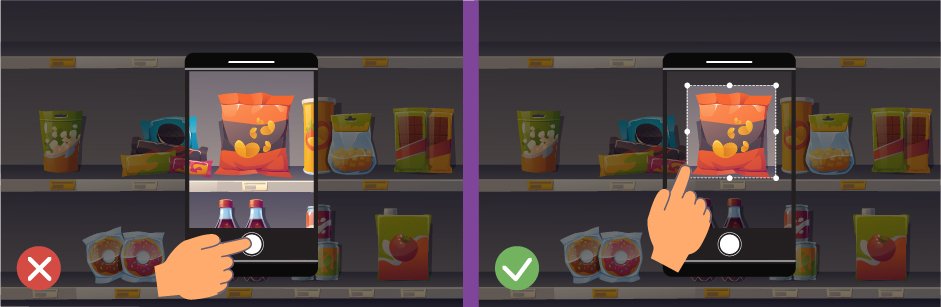
If you upload an image taken from a mobile device, make sure the image you want to add AR content to is taken from a close-up. For example, if you want to use a logo on the packaging, place the camera close to the packaging. Or you can also crop the packaging image with the built-in camera tool, having other objects in the frame will destabilize the experience.
Display content - The virtual content layer is displayed when scanning recognition images. Content that can be displayed includes images, videos, sounds, and 3D models. Please refer to the following suggestions:
PNG, JPG, GIF: Popular image format on online image libraries or can be easily created with Adobe Photoshop or Illustrator graphics software...
tipAvoid using moving GIFs with complex colors and effects.
When rendering images from graphics software, ARit recommends that you optimize these images by File > Save > Save for web. This will ensure that the images will have a high level of compatibility with the web environment.
For images downloaded or taken from the device, you can completely use them immediately.
MP4: Video formats can be found easily on online video libraries or created by popular video editing software such as Adobe Premiere, Final Cut Pro X, etc...
- When rendering MP4 videos, choose the H.264 video decoding standard with HD, fullHD esolution for the best experience.
tipThe video aspect ratio in both common resolutions for HD and fullHD video is 16:9/9:16 equivalent to horizontal/vertical video. You need to pre-determine the video sync ratio before uploading a video.
Video bitrate will affect the file size, you can reduce the bitrate to make the video more optimized for mobile devices.
GLB/GLTF: Is a 3D model format suitable for AR experiences
- These models can be created with specialized software such as Blender, 3DsMax, Maya... then rendered to the file in glb/gltf format.
tipSpecialized software may not support direct export of glb/gltf format, so you will need to use addons.
Lighting effects and material descriptions rendered from different software will yield different results and have limitations in fully reproducing material effects.
ARitSuggested that if you are new, Blender can be considered a suitable choice because of its outstanding advantages such as free, direct glb/gltf format rendering, popular in many fields.
Regularly check a 3D model's mesh count and file size when designing to ensure the model is optimal for storage and sharing across different platforms.
Choose basic material descriptions for 3D models. Or you can also use UV mapping/unwrapping technique if you need a highly detailed model but still need to ensure it is optimized for mobile.
The movement of the 3D model will also be displayed in this feature.
To have the model displayed at the right scale after scanning, refer to the sample model, then compare to align the size of your model when displaying in AR.